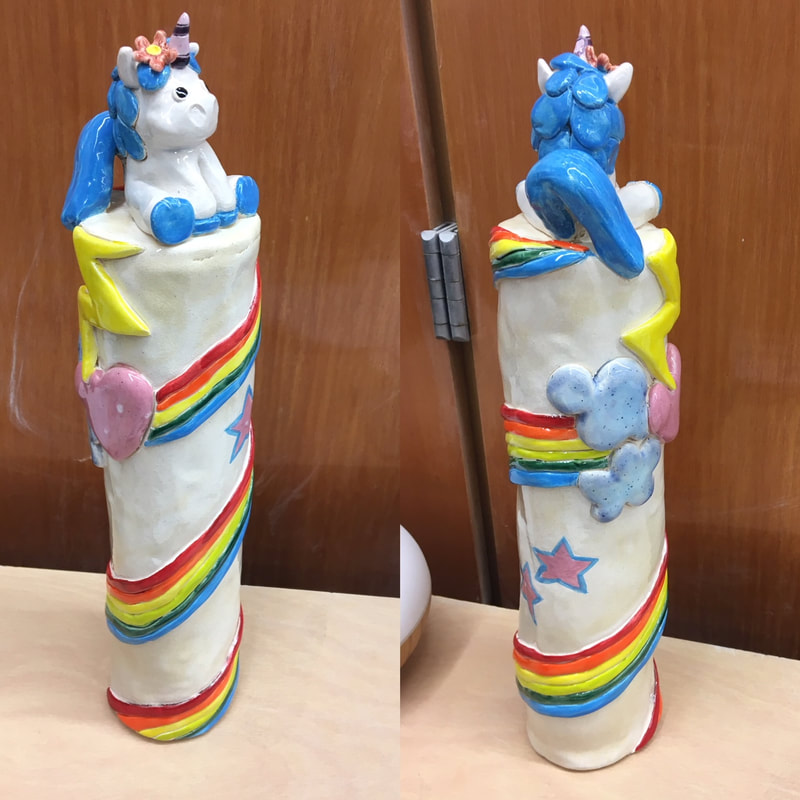
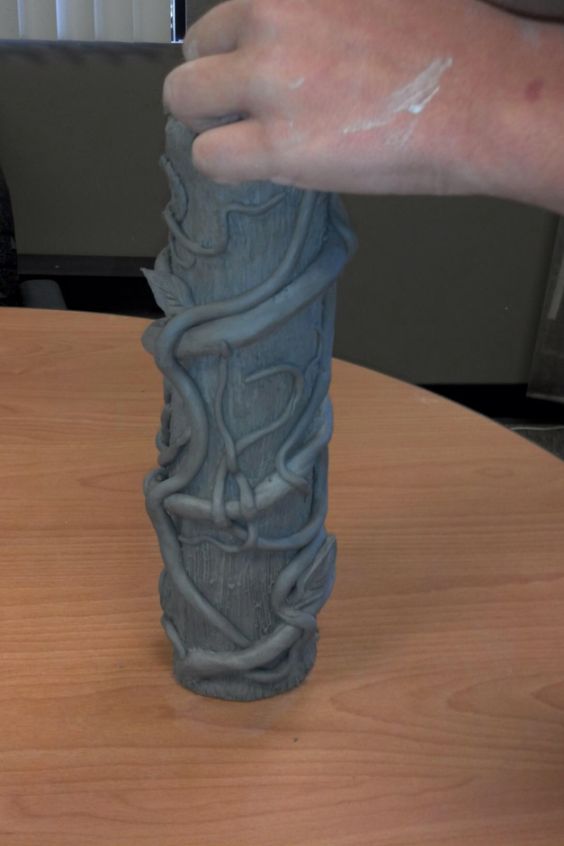
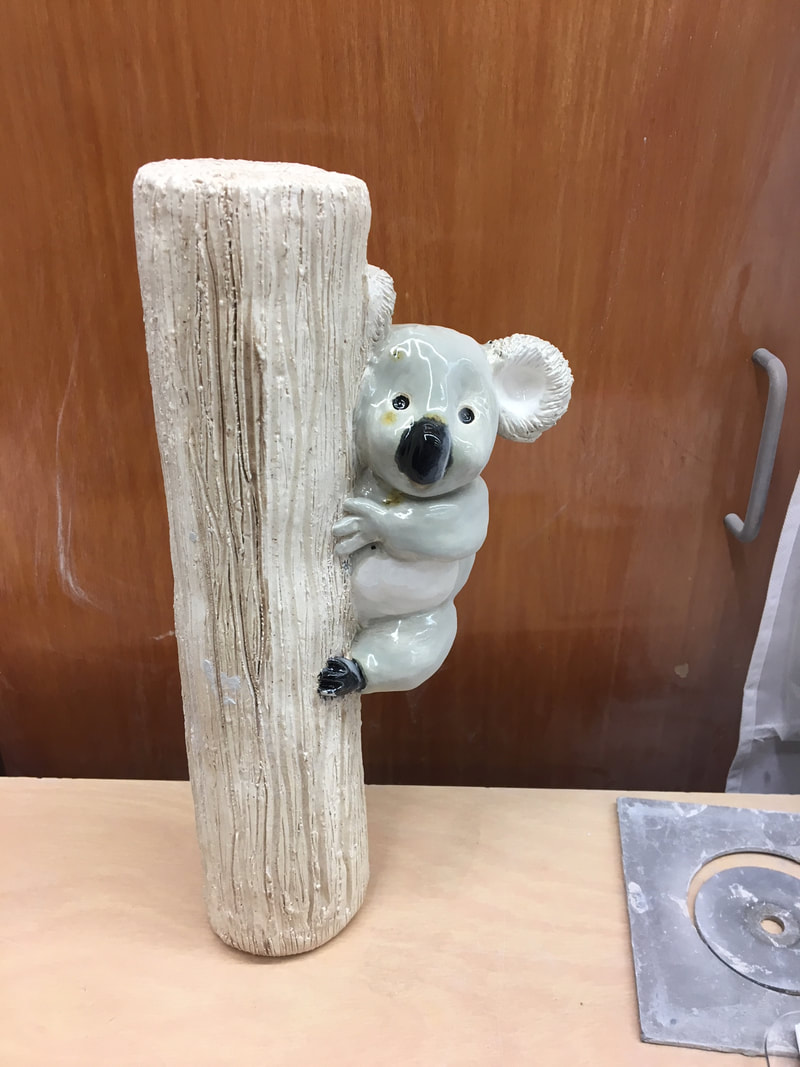
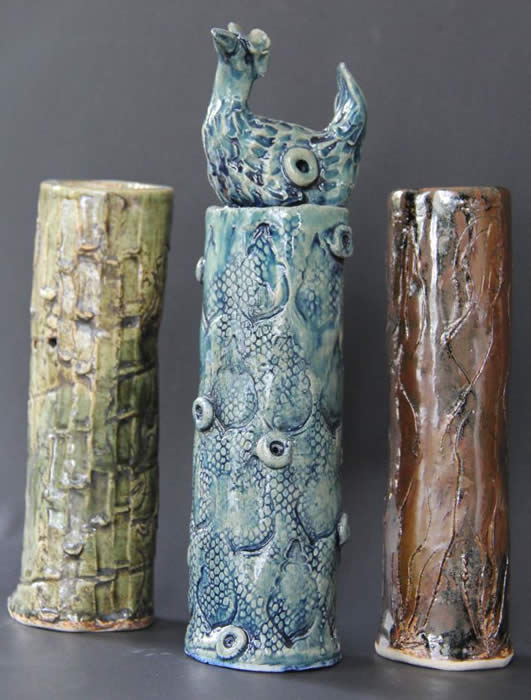
RAIN STICK
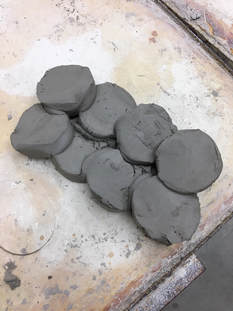
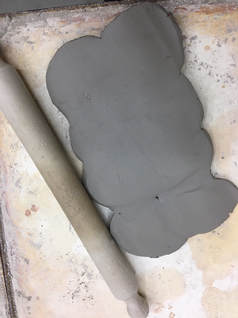
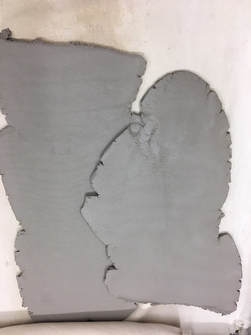
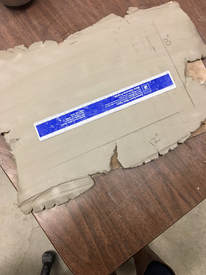
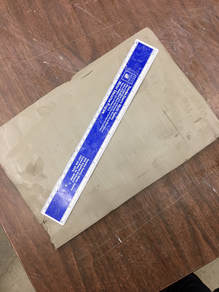
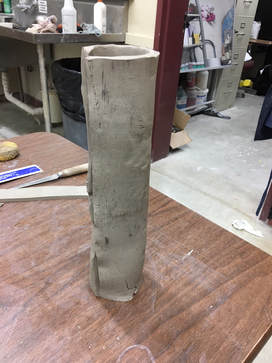
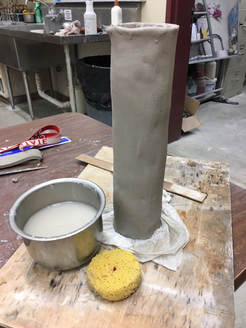
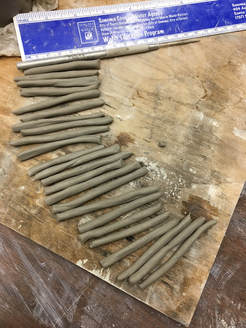
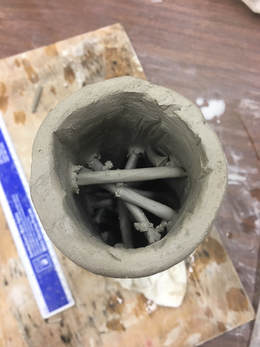
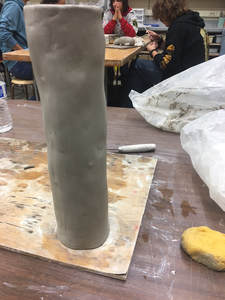
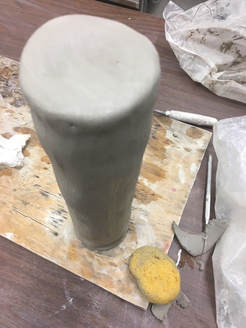
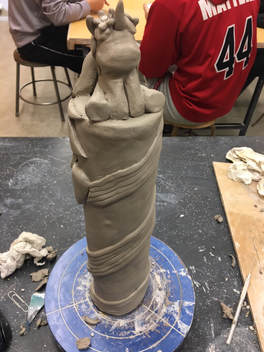
Steps: 1. Take 8 sections of clay from the new clay bucket and line up as pictured. (2 cross, 4 down) 2. Use a rolling pin to flatten out pieces of clay 3. Take flattened out section over to the slab roller. Set at 1/4 inch. Roll out slab. 4. Rip the slab in half and place them side by side. Then re roll out the slab connecting the 2 pieces. 5. Use a ruler and mark off your slab 8 inches wide by 10 inches long. 6. With a fettling knife cut out the slab. Smooth out any imperfections and canvas texture. 7. Stand the slab up. Add a support coil (same as the Mug) on the outside and the inside. Use a long paint brush to keep from denting in. 8. Use water and a sponge to smooth out rain stick. 9. Make small holes in the Rain stick, minimum of 25. 10. Roll out 25-30 small spikes. Anywhere from 1-2 inches. The thickness of a pin tool. 11. Once the spikes are leather hard put them in the holes and clean up edges 12. Roll out another slab 1/4 in. and make two circles to enclose the open ends of the stick (Make sure to put the balls in first before closing both sides of the rainstick!) 13. Score and slip the circles and blend the circles onto the stick 14. Make 3d elements and add designs 15. You MUST Poke a small hole in the bottom and the top to allow air flow. 16. Name and Period on the Bottom Examples: |


|
|
|
|
|
